Welcome.
If you're searching for an ergonomic hobbyist stenography keyboard, you've come to the right place. The Starboard keyboard was designed specifically as a minimalistic stenography keyboard and took inspiration from other ergonomic designs so the keyboard conforms to your hands—not the other way around.
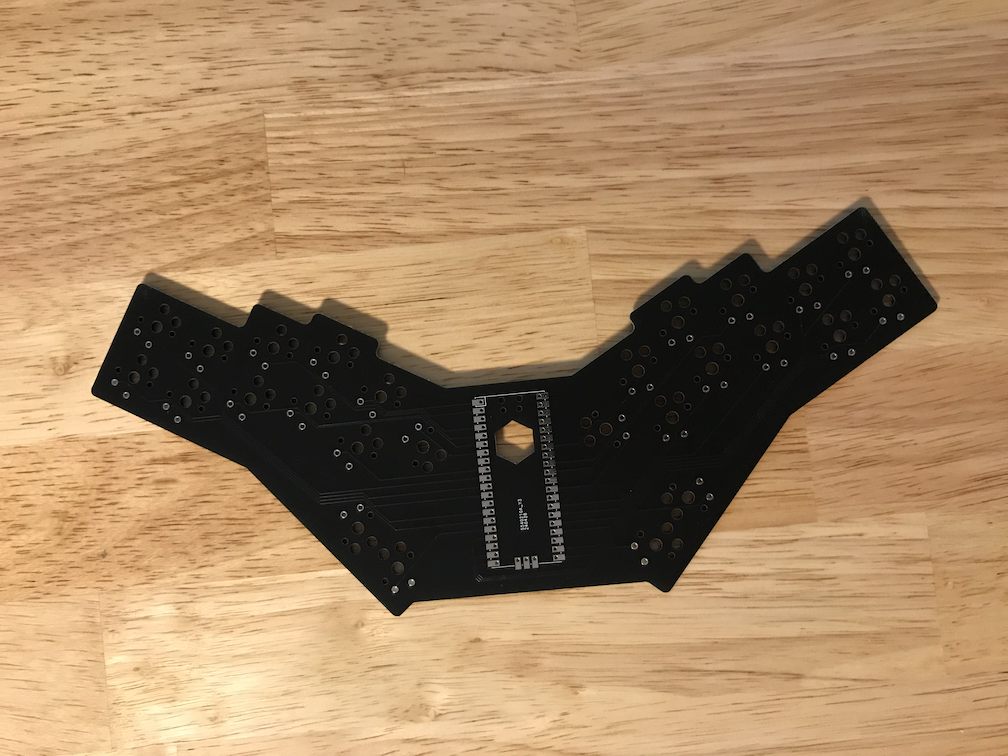
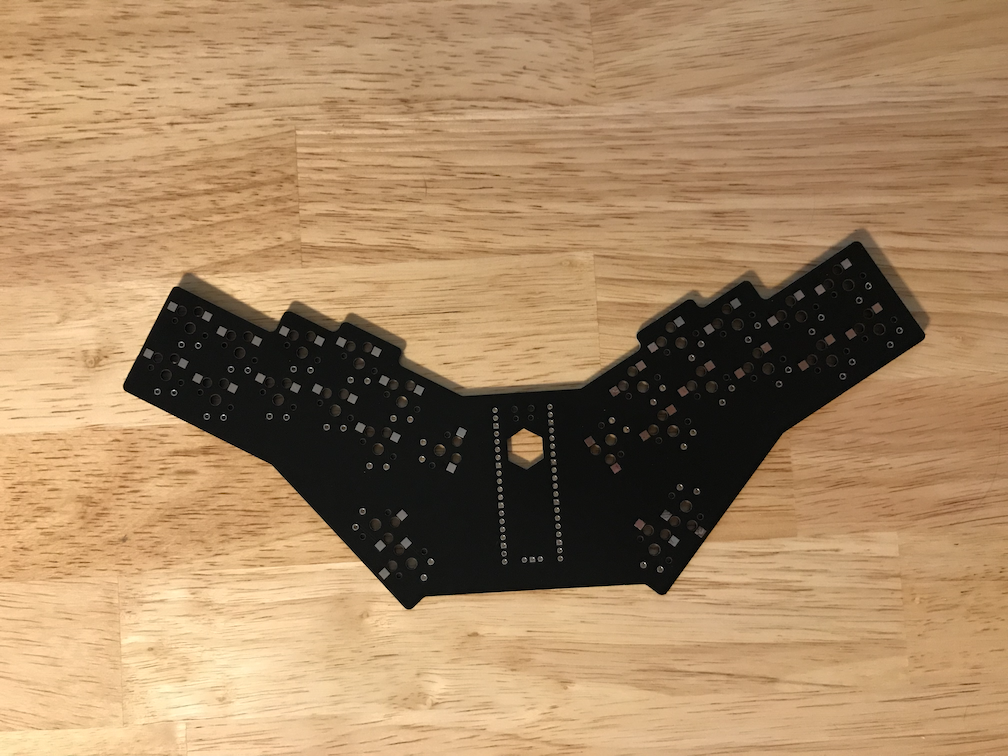
Starboard PCB
Add to Cart
+ shipping
Included Items
• 1 Starboard PCB
Description
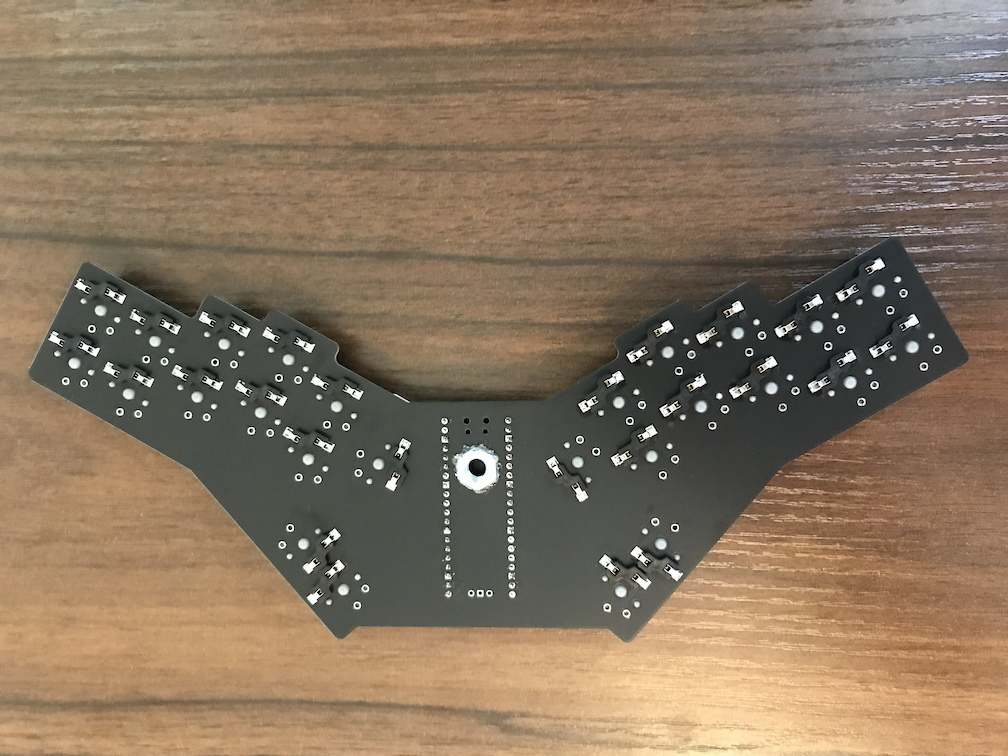
This is just the PCB for the Starboard. For more information about it, see the Starboard description. With this PCB, you'll also need to acquire all the other parts and assemble the keyboard yourself. You'll need: • 26 Kailh Choc keyswitches. This board is not compatible with MX-style switches. • 26 keycaps. For the middle two keys you can use up to 2u sized keycaps, but keycaps larger than that will probably hit the microcontroller. All other keycaps should be 1u. • A microcontroller with the same layout as a Raspberry Pi Pico. If you want to do embedded steno, you may want a microcontroller with at least 16 MB of memory. • A cable to connect the microcontroller to your computer. • Soldering equipment. • (Optional) A 1/4"-20 nut if you want to attach the keyboard to a standard tripod screw. You'll also need super glue to bind the nut to the PCB. • (Optional) 26 Choc hot-swap sockets. If you don't want to use hot-swap sockets, you can solder the keyswitches directly into the PCB, but using hot-swap sockets is recommended. • (Optional) A battery if you're using a Bluetooth microcontroller.
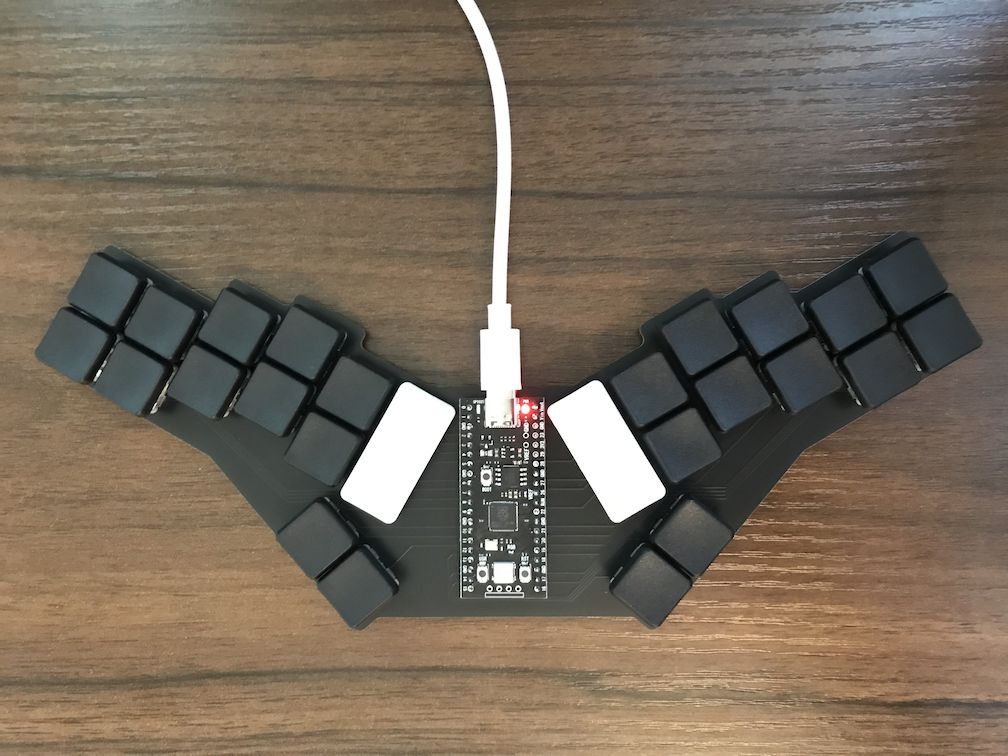
Starboard
Add to Cart
You can still order it to get it once it's in stock (typically 2 weeks or less).
+ shipping
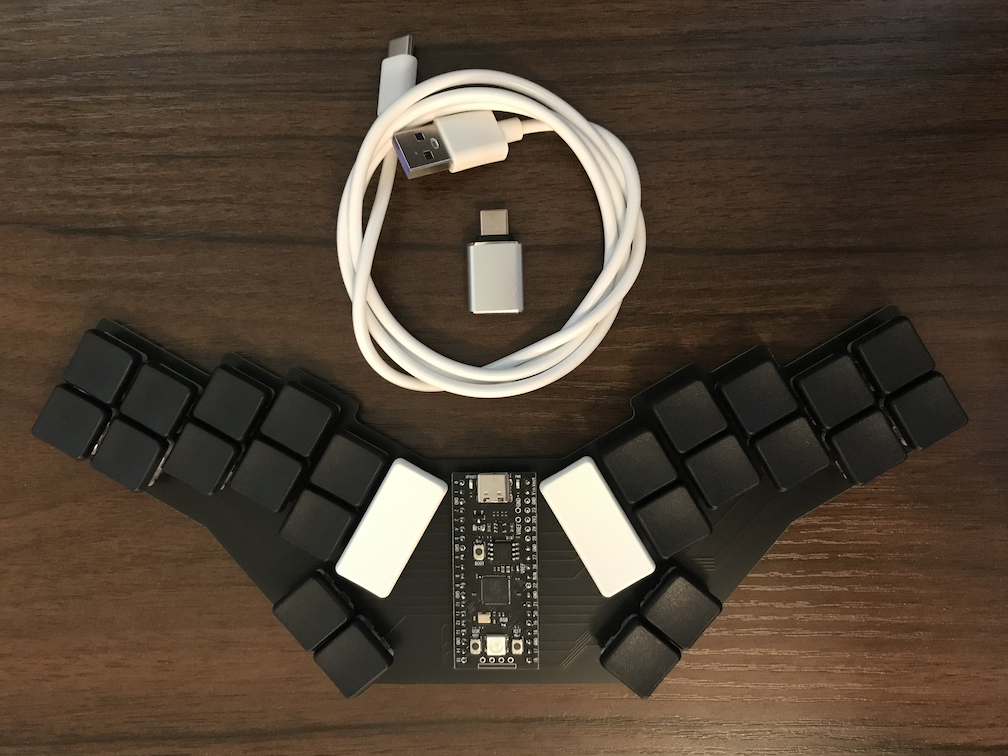
Included Items
• 1 Starboard keyboard • 1 USB-C to USB A cable • 1 USB A to USB-C adapter
Description
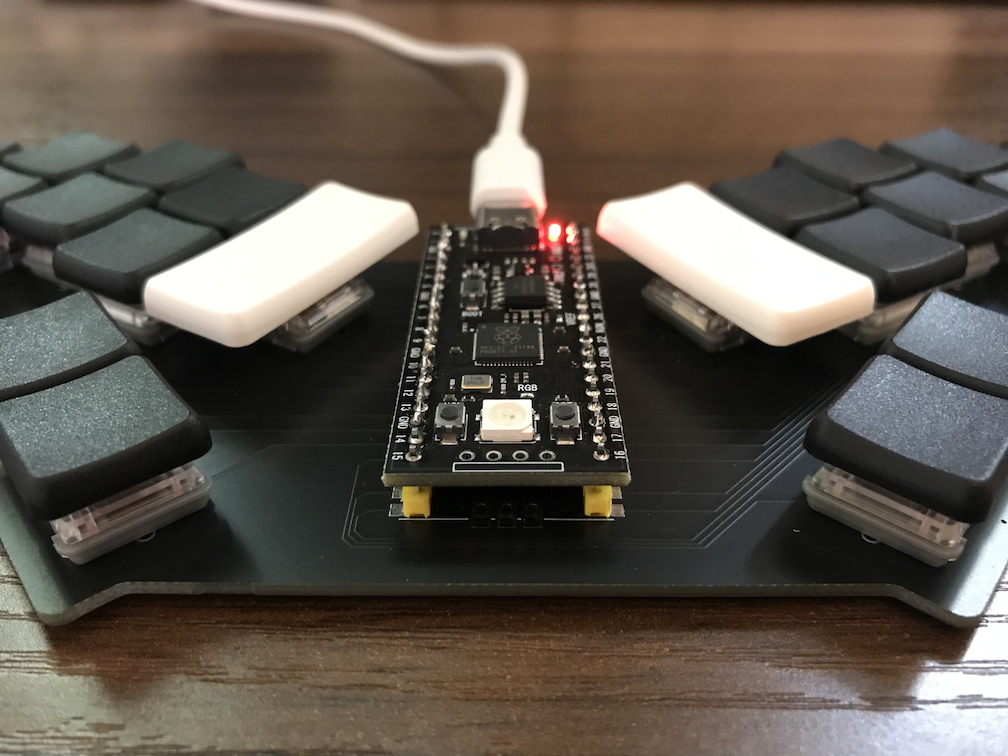
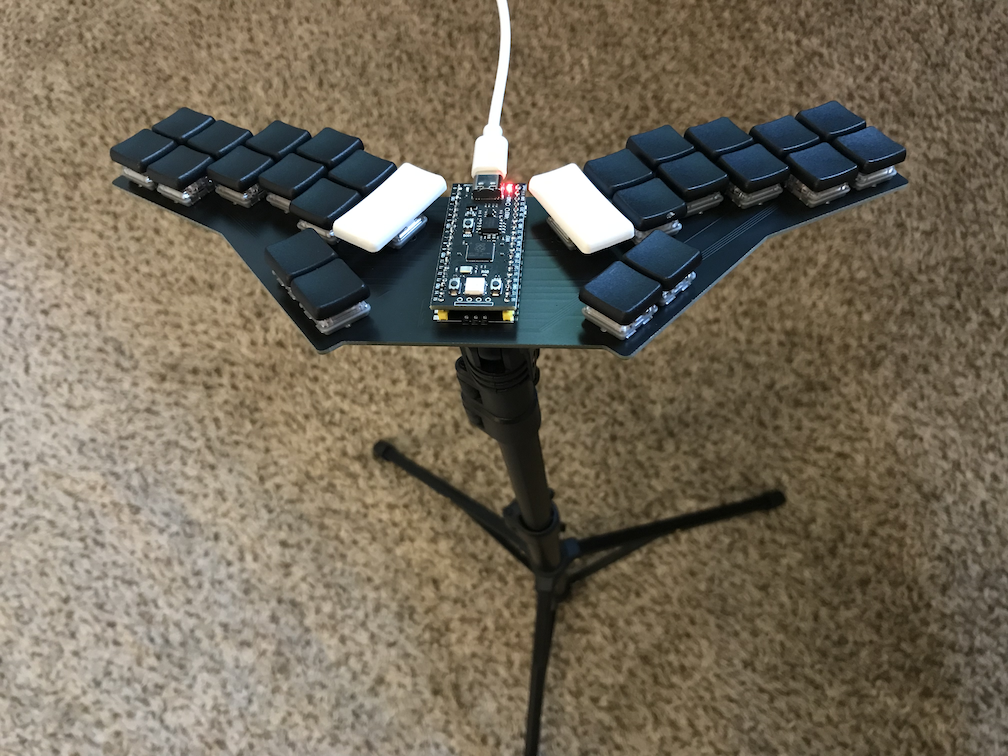
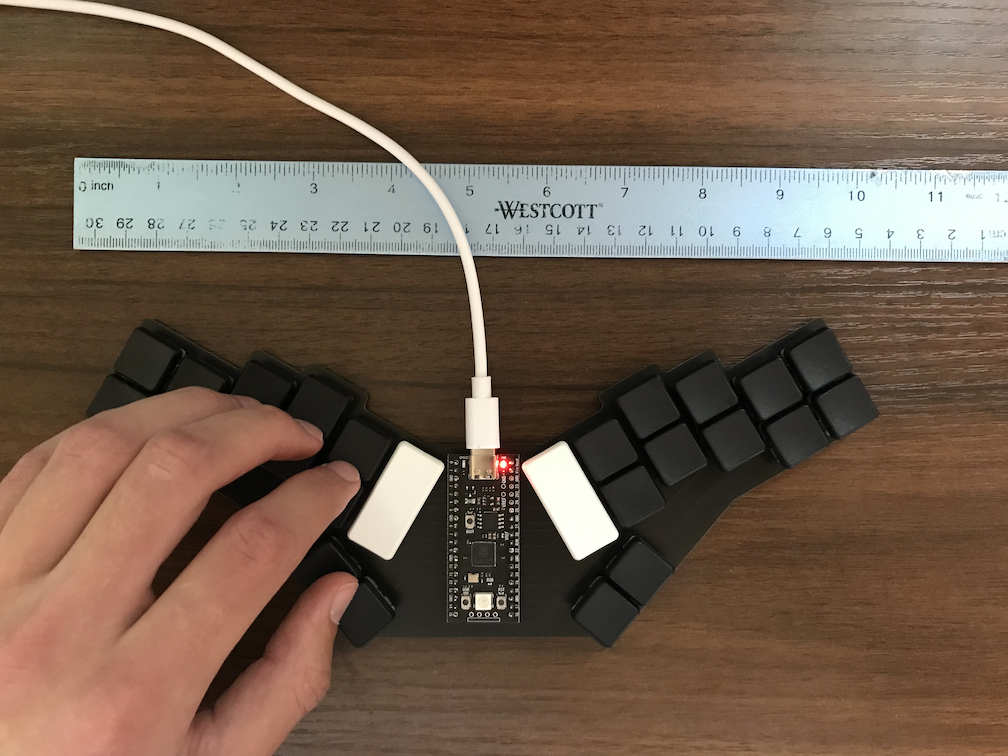
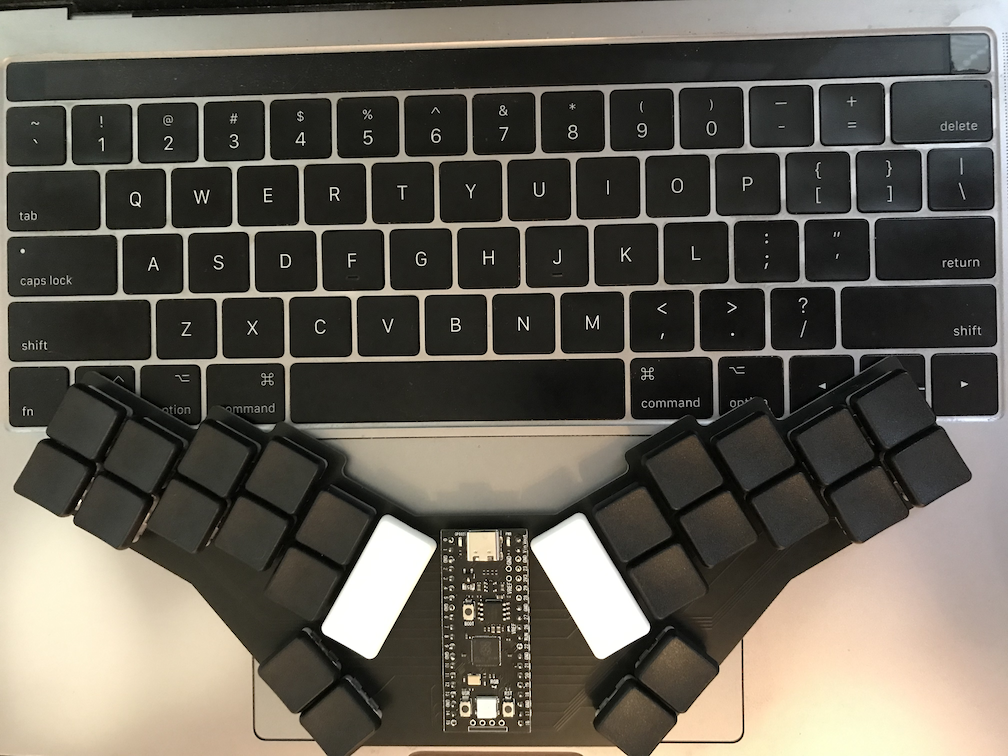
The Starboard keyboard was designed for stenography. It features: • 26 closely-positioned keys with slight staggering to match your different finger lengths • A tilted layout so your wrists remain straight even for complex chords • A 1/4"-20 nut allowing you to easily attach it to a standard tripod • Kailh Choc pink keyswitches • Choc hot-swap sockets • 16 MB of memory • Ability to flash custom firmware if you want to modify the layout • USB-C connection The Starboard is a feature-rich, ergonomic keyboard designed for stenography. The ergonomic features include slightly staggered columns to account for your fingers being different lengths, thumb clusters where your thumbs naturally rest, tilting each hand's key cluster inward 30 degrees. Overall, this means you can maintain straight wrists even for complex chords and the keys are within easy reach. If you prefer your keyboard on a tripod rather than a desk, you're in luck! The Starboard is built with a 1/4"-20 nut embedded in it, so you can easily attach it to a standard tripod; just screw it onto your tripod and you're good to go. If you use the Starboard on a desk, it sits flat even with the nut embedded in it; you may want to place a mousepad under it though to keep it from sliding. If you choose to customize your Starboard, you have quite a bit of freedom. The keyboard comes with Choc hot-swap sockets, so you can replace the Kailh Choc pink keyswitches with any other Choc keyswitch (but not MX style switches). You can also use QMK or similar software to flash your own firmware if you want to add/modify layers; the two leftmost keys don't do anything in the default stenography layer, so you could use them to switch to other layers if you like. To flash new firmware, plug in the keyboard to the computer, hold down the BOOT button on the microcontroller, press and release the RST button, and finally release the BOOT button. Your computer should then recognize the microcontroller as external storage and you can copy your firmware file onto it. The keyboard is shipped configured for stenography, so you'll need to configure stenography software such as Plover to read the keyboard's output and translate it to the correct words. Alternatively, you could setup embedded stenography so that the microcontroller on the Starboard translates your strokes into the words in your stenography dictionary and then sends those to your computer. With embedded stenography, you can plug your keyboard into any computer and immediately start writing without any additional setup. The Starboard microcontroller has 16 MB of memory to accommodate for embedded stenography. To set this up, go to https://lim.au/#/software/javelin-steno and select Starboard from the dropdown; then either download one of the Quick Downloads options, or make any customizations you want and click the Build Firmware button; finally, follow the Flashing Firmware instructions below to install the firmware on your Starboard. In short, the Starboard keyboard is a great choice for anyone looking for a stenography keyboard. It's affordable, comfortable, compatible with embedded steno, and has many of the features you might want in a stenography keyboard. If there's a feature not included that you want, please contact us and let us know! Other people would probably also want that feature, and we're happy to evaluate whether we could add it to the keyboard.
Keyboard Setup
The Starboard comes with stenography firmware installed. To get your keyboard working, you'll need to:
- Install stenography software such as Plover on your computer
- Plug your keyboard into your computer
- Open Plover → Configure → Machine
- Select Gemini PR as the Machine
- Click the Scan button in the Options → Connection panel
- Select your Starboard keyboard from the Port dropdown list
- Click the OK button to apply the changes and exit the Configure menu
Now when you press keys on your Starboard, the keys should get interpretted by the active Plover dictionaries and the translated results should get sent to your computer.
Embedded Steno
You can use embedded stenography so that you can plug the keyboard into any computer and immediately start writing without the need to setup Plover or do any additional configuration. To get embedded steno working, follow these steps:
- Go to https://lim.au/#/software/javelin-steno
- Select Starboard as the hardware from the dropdown
- Either download one of the Quick Downloads options, or make customizations and click the Create Firmware button to download your custom firmware
- Follow the Flashing Firmware instructions below.
Flashing Firmware
If you need to flash your Starboard with new firmware, follow these steps:
- Plug your keyboard into your computer
- On your keyboard's microcontroller, press and hold the BOOT button, press and release the RST button, and finally release the BOOT button. Your computer should now recognize the microcontroller as external storage.
- Copy your firmware file onto the microcontroller by dragging and dropping the firmware file into the external storage device that is the microcontroller.
You can download the default firmware here. This firmware contains only a steno layer; the left white key is # and the right white key is * and the two leftmost keys don't do anything.
Building Custom Firmware
For more customization, you can build your own firmware; QMK and ZMK are popular open source options for this. Writing your own firmware configuration allows you to create multiple layers (e.g., separate layers for steno, numbers, symbols, gaming, etc.). If you're comfortable with coding and using git, you can follow these steps to customize your Starboard with QMK:
- Fork or clone this repository: https://github.com/AndrewHess/qmk_firmware
- Run
git checkout starboardto enter thestarboardbranch. - Inside the repository, copy
keyboards/starboard/keymaps/steno_onlyto a new directory likekeyboards/starboard/keymaps/<your_keymap> - Update the files within
keyboards/starboard/keymaps/<your_keymap>to create your custom layers. You may want to look at the QMK documentation to look up keycodes and the (numerous) types of things you can do with QMK. - Compile your firmware by running
qmk compile -kb starboard -km <your_keymap>from within theqmk_firmwaredirectory or by following QMK documentation.
If you're building your firmware with something other than QMK, you'll want to look at this to see which pins are mapped to which keys; the first row is for the top finger keys, the middle row is for the bottom finger keys and the white keys, and the bottom row is for the thumb keys.
If you need assistance, please contact us at [email protected]